The following information on body positioning for target shooting comes from Section 3 of Shooting by J. Henry FitzGerald. Shooting is also available to purchase in print.
While standing behind the firing line at Camp Perry and many other ranges I have noticed the positions of the hand-gun experts and a difference may be noted in the position of each revolver contestant.
Some shooters hold the arm very rigid, with the shoulder thrown up and the chin resting on the shoulder, and I have seen some very good scores made in this position, but only a few of the shooters use it. In my own case it causes a tremor of the hand which destroys the accuracy and I have never been able to make good scores in this position. Another position is with a pronounced bend at the elbow and this is a position I could use very easily. The only trouble which I found with it was that a wild shot seemed to slip out further than I expected.
My best success has been obtained by holding the arm out fully extended or nearly so without a particle of muscle strain, the revolver gripped lightly in the hand, feet fifteen to eighteen inches apart, weight evenly divided upon both feet, standing at a forty-five degree angle from the target, by all means a comfortable position. One should be sure not to take the arm down or relax just as the trigger is pulled or a wild shot will be the result. The arm should be held and the shots called before taking down the arm.
It is well enough to try out all the different positions which you see, but as soon as possible settle down to one position and do not change it. Success in shooting is obtained by constant practice and by doing the same thing the same way every time.
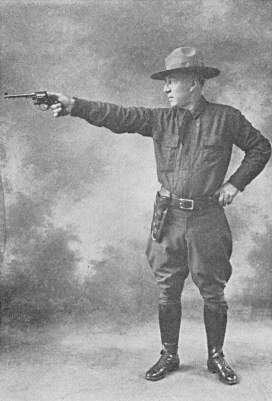
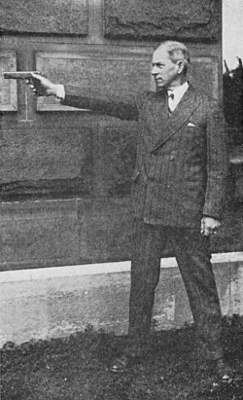
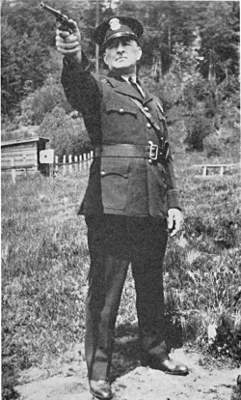
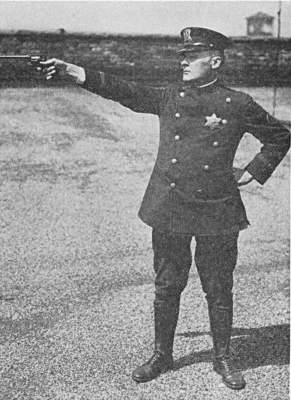
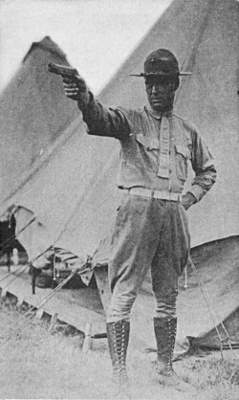
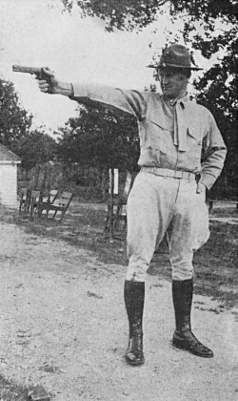
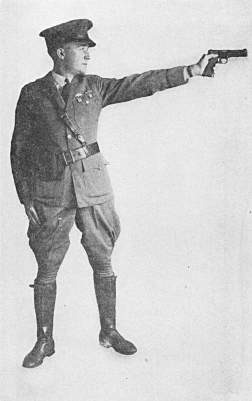
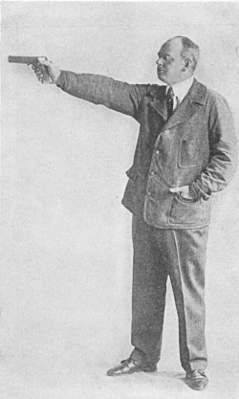
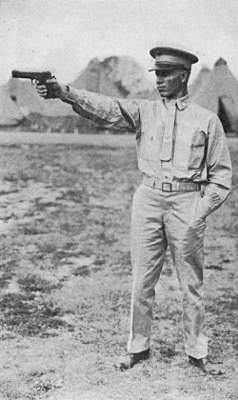
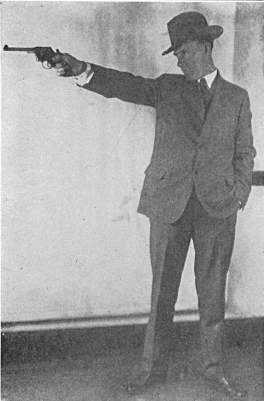
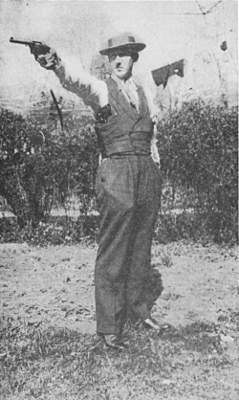
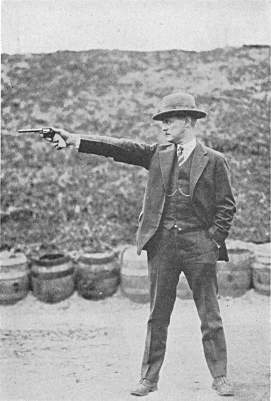
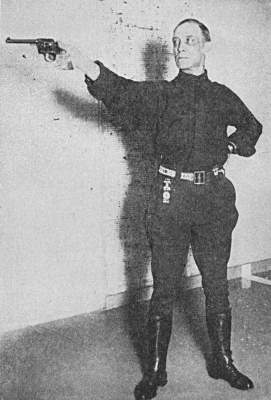
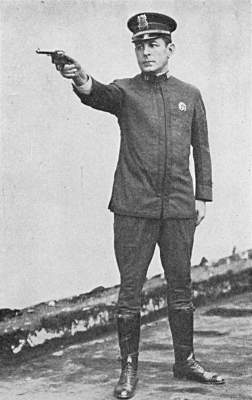
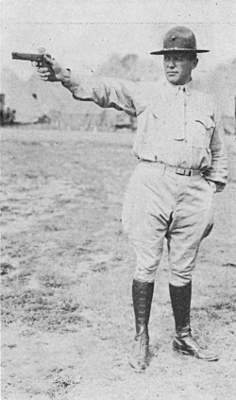
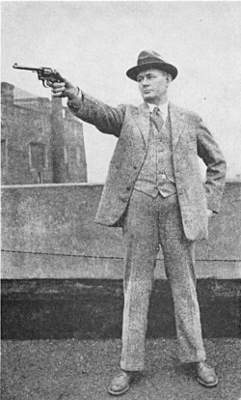
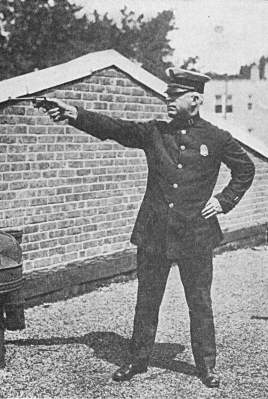
The following photographs, I believe, will explain the position of some of the leading revolver shots in the United States better than any written description. You will note that no two take the same position. Your own may be different from any of these, but the scores are what count and a comfortable position is the one best suited to good shooting.
When a desirable position is attained, the next important step which each shooter must master is to tend strictly to his own shooting. He should never interest himself in the scores of his next door neighbors, neither should he feel that the success of his team mates and the score rest only upon his shoulders. Let the team captain worry about the scores and try to at least shoot an average score. All that anyone can expect is to equal his average score.
Position when shooting in the wind is slightly different from the position used in calm weather. The body must be slightly braced, feet a little further apart to avoid the sway from the wind. One can become accustomed to this by practice.
Many shooters stand facing the target instead of at a forty-five degree angle and after viewing the stance of different experts it is safe to say that a comfortable position is all that is necessary for good shooting. But do not assume any freak position; it is time lost to start that way.
When the proper comfortable position is mastered the next thing to consider is how to aim and hold the arm. I believe I can illustrate the proper way to line up the sights with the target by showing the system used by Captain Edward Langrish of the Hartford (Connecticut) Police Department.
Illustration No. 1: The proper way to align the revolver sights with the target is to have the front sight just filling the rear sight as to height and an even distribution of light on each side of the sight; the top of the front sight just touching the bottom of the bull’s-eye or with a white line, if preferred. The old shooting phrase, “Set the bull’s-eye on top of the front sight,” is very apt.
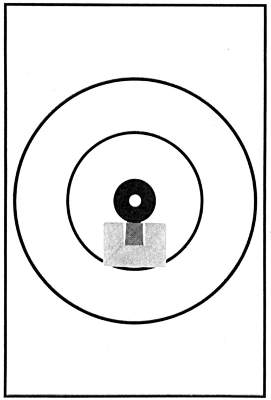
Illustration No.2: This is a low shot because the front sight did not fill the rear notch as to height.
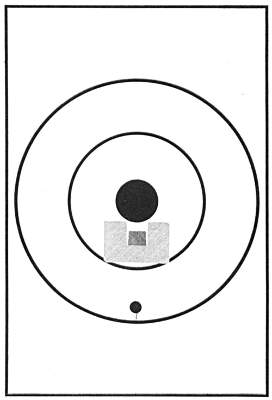
Illustration No. 3: A high shot to the left, and left because the revolver was canted or tipped to the left; high because the front sight was held above the level of the rear sight.
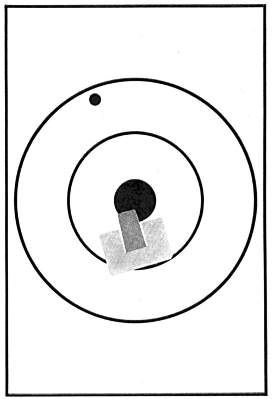
Illustration No. 4: A high shot because the front sight was held above the level of the rear sight.

I believe the greatest handicap to beginners is the fact that they exert too great an amount of energy in the process of learning to shoot. They work too hard and instead of quieting the muscles and nerves by obtaining control over them they proceed to work themselves into a state of mind not beneficial to good shooting.
All the legs can do is to keep the body from swaying by equally supporting the weight. All the arm and hand can do is to hold the revolver as steady as possible while the shot is being fired. The function of the eyes is to direct the sights properly for a center shot. When undue force is exerted by the legs, body, arm, or hand, a wild shot is the result. All parts of the body must work in unison; if one part fails to perform its task, then the entire operation is at fault, and the defect must be corrected in future trials. Not only beginners are affected in this way, but many of the old-timers if they haven’t practiced for several months.
The constant recoil of the .38 caliber or larger will affect the beginner and also the shooters who do not practice at least twice each week. There is a limit to the amount of .38 or larger cartridges that any man can shoot at one time without developing a tremor in his hand and arm. The beginner will reach this stage with a .38 caliber revolver shooting .38 Special cartridges after about twenty-five shots. If shooting the .45 Colt cartridge or the .45 automatic cartridge, the same degree of tremor would be reached in about twelve to fifteen shots. The same man by constant practice can overcome this tremor and raise the amount of shots fired from the .38 caliber to three hundred per day, and still obtain a good score with the last ten shots. With the .45 caliber the two-hundred shot mark may be reached before the tremor is noticeable.
I have studied this tremor for years and noted the almost unbelievable amount of shooting that the body could stand and still obtain good results. This, of course, only comes after long years of practice. Two thousand aimed shots with the .38 caliber may be reached with good results and eight hundred shots with the .45 caliber revolver or automatic.
It takes several years of continual shooting to reach this figure and even then different persons will reach the limit far below the amount stated. Good results will not be obtained if the contestant continues to shoot after this tremor begins. The only cure is rest and extending the period of shooting by practice.
Below are the shooting positions of some experienced pistol shooters. Both revolvers and automatic pistols are shown.


Click here to purchase Shooting in paperback
